


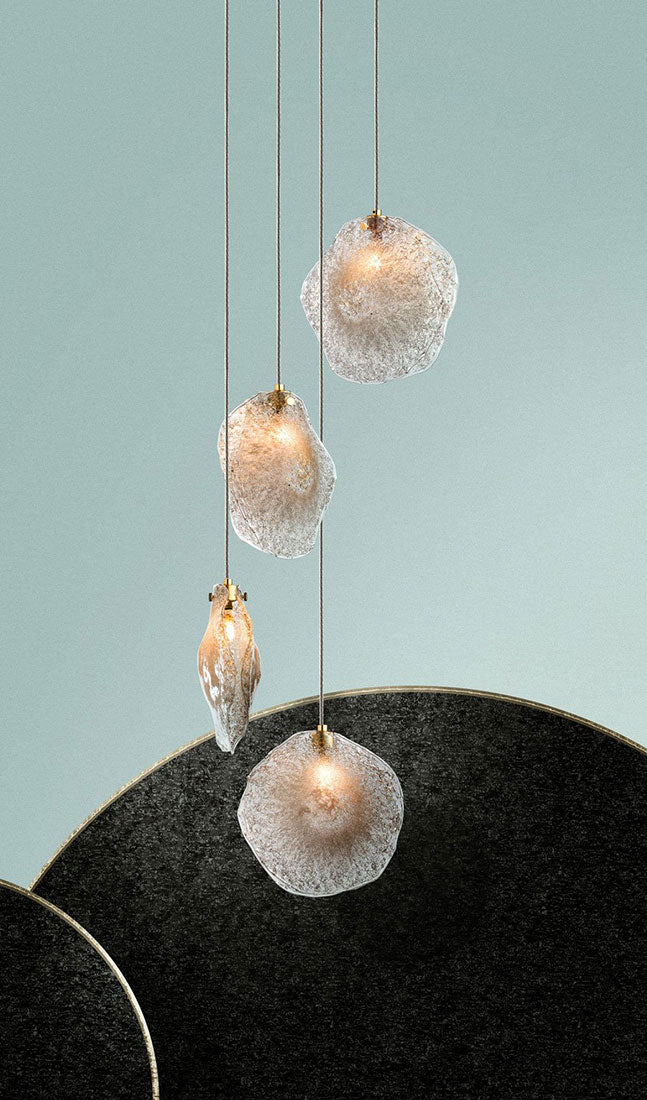


Standard off-the-shelf light fixtures work well for typical spaces, but grand architectural designs require an entirely different approach. High vaulted ceilings, winding staircases, expansive dining rooms, and luxury entryways often demand fixtures designed specifically for their unique dimensions, color palettes, and structural capacities.
Commissioning a custom light installation can seem intimidating at first. The process involves blending artistic vision with precise structural engineering, electrical safety codes, and meticulous handcraft.
This comprehensive guide details exactly how custom lighting commissions work, breaking down each phase of the journey from the initial creative spark to the final illuminated masterpiece in your home.

Phase 1: Exploration and Spatial Analysis
Every custom lighting commission begins with a conversation and a blank page. The goal of this initial phase is to align your artistic aspirations with the physical realities of your living space.
Assessing the Space
During the initial consultation, a design specialist analyzes your architectural plans, elevations, and interior design materials. Key questions addressed during this phase include:
-
What is the height and slope of the ceiling?
-
What are the primary sightlines when walking through the room?
-
Is there adequate structural support above the ceiling drywall to hold a heavy custom fixture?
-
What are the dominant colors, textures, and finishes in the room?
Defining the Lighting Goal
A custom fixture can serve different purposes in a room. Designers categorize these into three distinct layers:
-
Task Lighting: Clear, direct illumination for functional areas like kitchen islands or desks.
-
Ambient Lighting: A soft, overall glow that fills the room and sets the mood.
-
Accent/Artistic Lighting: Highly focused light designed to highlight artwork, architectural details, or function as a standalone sculptural centerpiece.
Phase 2: Design, Sketching, and Rendering
Once the spatial parameters and stylistic goals are established, the creative design process begins. This phase bridges the gap between abstract ideas and a physical, manufacturable design.
Concept Sketching
Designers create initial hand-drawn or digital sketches to explore scale, silhouette, and movement. For multi-pendant installations, these sketches show how different glass styles, such as textured globes or drop pendants, will cluster together to form a cohesive shape.
Architectural CAD Renderings
To ensure absolute accuracy, designers translate the selected sketch into Computer-Aided Design (CAD) software. These architectural drawings map out:
-
The precise dimensions of the ceiling plate (canopy).
-
The exact length, drop, and path of every suspension cable.
-
The position of the electrical junction boxes and wiring pathways.
Material and Color Swapping
During this stage, clients choose their glass textures, colors, and metal canopy finishes. Seeing physically produced glass samples or custom metal chips in your home's actual lighting helps ensure that the final colors will harmonize perfectly with your cabinets, flooring, and wall colors.

Phase 3: Engineering and Handcraft Production
Once the designs and technical drawings are approved, the commission moves into physical production. This phase combines centuries-old handcraft with modern engineering.
Glassblowing the Elements
In the glass studio, master glassblowers hand-craft every individual glass piece. Using raw, molten glass heated to over 2,000°F, they carefully shape, blow, and texture each element. Whether creating a series of intricately drizzled spheres or smooth, organic raindrops, no two handmade pieces are identical.
Manufacturing the Metal Canopy and Harness
Simultaneously, engineers fabricate the custom metal ceiling canopy. They drill precise, CNC-machined exit holes for each cable and wire path, assemble internal low-voltage drivers, and prepare the structural mounting brackets.
Phase 4: Logistics and Installation Preparation
Because custom chandeliers are often heavy and delicate, shipping and preparation require meticulous care.
Rigorous Studio Testing
Before any custom commission leaves the studio, technicians conduct a full mock-up assembly. They hang the fixture, test all electrical connections, verify that the LED color temperatures match specifications, and inspect every glass piece for optical clarity and structural strength.
White-Glove Packaging
Each hand-blown glass element is individually wrapped in thick, protective foam and packed into custom wood crates or compartmentalized boxes. This ensures that the delicate glass remains completely safe during transit.
Summary of the Custom Commission Timeline
|
Phase |
Core Objectives |
Key Deliverables |
Estimated Duration |
|
1. Exploration |
Analyze architectural plans, define light levels, and select glass styles |
Spatial analysis, rough budget, and preliminary material selections |
1 to 2 weeks |
|
2. Design & Approvals |
Create precise visual layouts and scale the fixture to the room |
Hand-sketches, CAD renderings, canopy layouts, and glass color samples |
2 to 4 weeks |
|
3. Production |
Hand-craft the glass elements and machine the metal canopy |
Completed hand-blown glass, custom canopy, and wired electrical harness |
6 to 10 weeks |
|
4. Testing & Shipping |
Assemble, test, and pack the fixture for secure transportation |
UL-listed certification, custom packing crates, and detailed installation guides |
1 to 2 weeks |
|
5. Installation |
Mount the canopy, connect the electrical systems, and hang the glass |
A fully illuminated, structurally sound custom art installation |
1 to 2 days |
The Step-by-Step Installation Process
Installing a custom, multi-drop chandelier is a highly detailed task. For a safe and flawless setup, follow this sequential installation process:
1. Reinforce the ceiling support: Contractor Prep.
Standard drywall electrical boxes cannot support the weight of heavy custom chandeliers. Before the installation begins, have your general contractor install a structural wood brace (typically $2 X6$ blocking) directly above the ceiling joists.
2. Mount the canopy and wire power: Electrician Setup.
Your licensed electrician will mount the heavy metal canopy directly to the structural wood framing and connect the home's main electrical lines to the internal LED drivers.
3. Hang and level the suspension cables: Cable Calibration.
Pull and adjust each suspension cable to its designated height according to the custom design layout. This step is completed with only the metal cables hanging, no glass is attached yet.
4. Carefully hang the glass elements: Final Assembly.
Once the canopy is secure and the cables are leveled, carefully unbox the glass pieces. Beginning from the top drops and working your way down, slide the sockets into the glass globes and lock them into place using their designated mounting collars.
5. Install bulbs and test the dimming: The Big Reveal.
Install the LED light bulbs and turn on the power. Test the full dimming range to ensure smooth light transitions without any flickering.
Critical Engineering Codes and Compliance
Safety is the absolute priority when hanging a heavy custom fixture in your home. Professional lighting design firms engineer every custom commission to comply with the strict guidelines set by the National Electrical Code (NEC) and the National Fire Protection Association (NFPA) under NFPA 70.
Underwriters Laboratories (UL) Listing
Ensure that your custom fixture comes with a wet, damp, or dry location UL certification. This safety certification proves that every electrical component, including the wires, sockets, drivers, and canopies, has been rigorously tested and certified to operate safely under normal household conditions.
Long-Term Maintenance and Care
Once your custom chandelier is installed, keeping it beautiful is simple with proper care:
-
Regular Dusting: Once or twice a year, use an extendable feather duster or a clean, dry microfiber cloth to gently wipe away dust from the glass globes.
-
Avoid Abrasive Cleaners: Never spray harsh chemical cleaners directly onto the glass or metal surfaces. If a glass element needs deeper cleaning, remove it from the fixture, wash it with mild dish soap and warm water, dry it completely, and place it back on the cable.
-
LED Longevity: High-quality LEDs used in modern custom lighting are designed to last up to 50,000 hours, meaning you will rarely need to replace bulbs under standard residential use.
Collaborative Note: A custom lighting commission is a true partnership. By combining your personal style and architectural needs with the technical skills of master glass artists and structural engineers, you create a timeless focal point that will elevate your home for generations to come.