


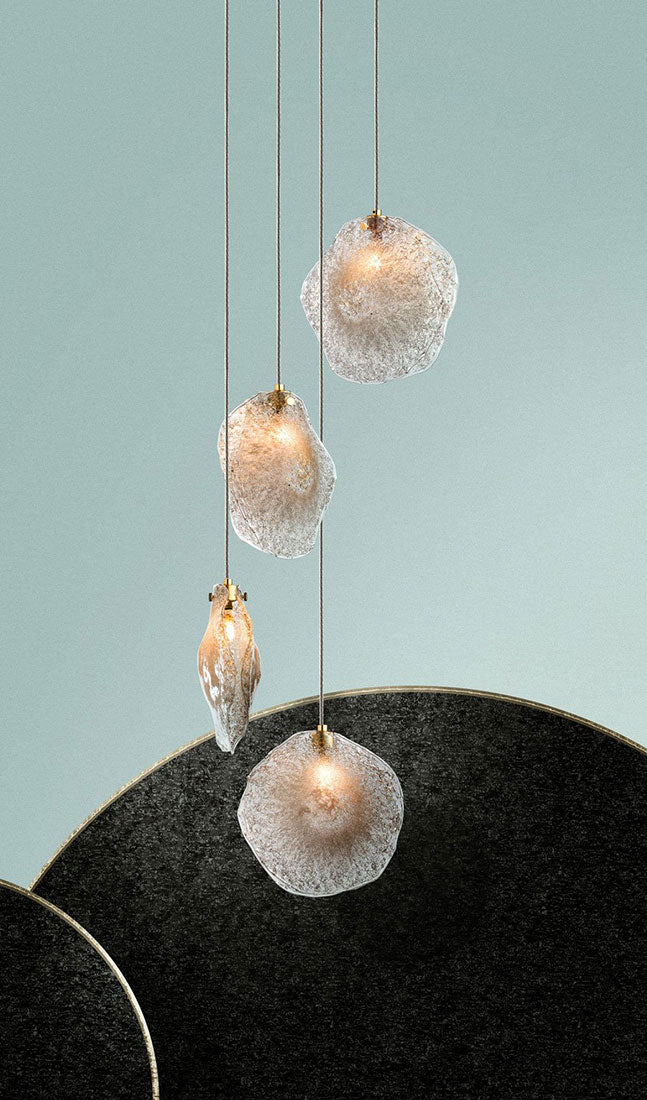


A dining room is more than just a place to eat. It is a central gathering space for family dinners, holiday celebrations, and meaningful conversations. The dining table acts as the anchor, but the chandelier hanging above it functions as the crown jewel of the room. It defines the ambiance, establishes the design direction, and draws people together under its glow.
However, even the most exquisite handcrafted fixture can ruin a room if the scale is off. A chandelier that is too small gets swallowed up by the space, looking like an afterthought. Conversely, a fixture that is too large can make the dining room feel cramped, visually overwhelming the table and crowding your guests.
To help you achieve perfect visual balance, interior designers rely on specific mathematical ratios. This guide outlines how to calculate the perfect scale, width, and height for your space using simple, reliable design formulas.

1. The Core Formulas for Chandelier Width
The most critical dimension to calculate first is the width or diameter of your fixture. If the diameter is correct, the rest of the installation naturally falls into proportion. Designers use two primary methods to determine this: the Room Dimension Method and the Table Proportion Method. For the best results, you should calculate both and look for where they overlap.
The Room Dimension Method
This classic interior design formula uses the physical footprint of your dining room to establish the baseline scale of the fixture.
Room Width in Feet + Room Length in Feet = Chandelier Diameter in Inches
To apply this formula, use the following simple steps:
-
Measure the length and width of your dining room in feet.
-
Add those two numbers together.
-
Convert that sum directly into inches. This number is your ideal chandelier diameter.
For example, if your dining room is 12 feet wide by 14 feet long:
12 + 14 = 26
Your ideal chandelier diameter is 26 inches.
The Table Proportion Method
While the room dimensions give you a solid baseline, the chandelier must also relate directly to the size of the dining table below it. After all, the table is the immediate visual anchor for the hanging light.
Table Width X 0.50 to 0.66 = Ideal Chandelier Width}
To ensure the fixture does not overpower the table or create a safety hazard where guests bump their heads when standing up, follow these two rules:
-
The Two-Thirds Rule: The chandelier's diameter should be between one-half and two-thirds of the total width of the dining table.
-
The 12-Inch Clearance Rule: Keep the outer edges of the chandelier at least 12 inches away from the outer edges of the table on all sides.
For example, if you have a dining table that is 40 inches wide:
-
Half of the table width is 20 inches.
-
Two-thirds of the table width is approximately 26 inches.
-
Your ideal chandelier diameter should fall between 20 and 26 inches.
2. Calculating the Perfect Chandelier Height
Once you have determined the width, you need to calculate the height of the physical fixture, as well as the height at which it should hang from the ceiling.
Calculating Fixture Body Height
If you have high, vaulted, or double-height ceilings, you need a taller fixture to fill the vertical space.
Ceiling Height in Feet X 2.5 to 3.0 = Chandelier Body Height in Inches
To calculate the body height of the light fixture itself:
-
Measure your floor-to-ceiling height in feet.
-
Multiply that number by 2.5 and 3.0 to find your ideal height range in inches.
For a standard 9-foot ceiling:
9 X 2.5 = 22.5 in
9 X 3.0 = 27 in
The vertical body of your chandelier should be between 22.5 and 27 inches tall.
Determining the Hanging Height Above the Table
The distance between the bottom of your fixture and the surface of your dining table is crucial for both comfort and lighting quality.
-
Standard Ceilings (8 to 9 feet): Position the bottom of the chandelier 30 to 36 inches above the tabletop. This height keeps the light source out of your guests' direct line of sight while preventing the fixture from blocking views across the table.
-
High Ceilings (10 feet and up): For every additional foot of ceiling height above 9 feet, raise the chandelier by approximately 1 inch. For example, in a room with a 10-foot ceiling, the fixture should hang 31 to 37 inches above the table surface.

Quick Reference: Chandelier Sizing Matrix by Table Shape
To help you visualize these proportions, review how different table shapes change your lighting configuration needs:
|
Table Shape |
Typical Table Dimensions |
Recommended Chandelier Shape |
Ideal Chandelier Width / Diameter |
Recommended Configuration |
|
Round |
48" Diameter (Seats 4) |
Round, Globe, or Centered Cluster |
24" to 32" Diameter |
Single central hand-blown glass pendant or a small, compact cluster. |
|
Round |
60" Diameter (Seats 6) |
Round or Spiral Cluster |
30" to 40" Diameter |
A dramatic circular blown-glass chandelier to mirror the table symmetry. |
|
Rectangular |
36" W x 72" L (Seats 6) |
Linear, Rectangular, or Multi-Drop |
24" to 28" Width |
A linear canopy or a multi-drop array spaced evenly along the center line. |
|
Rectangular |
42" W x 96" L (Seats 8) |
Linear or Multi-Drop Canopy |
28" to 32" Width |
An elongated, custom linear chandelier that spans roughly 50% to 60% of the table's length. |
|
Square |
60" x 60" (Seats 8) |
Square, Round, or Large Cluster |
30" to 40" Diameter |
A bold, multi-tiered custom light installation that anchors the square space. |
3. Adjusting for Visual Weight and Glass Artistry
While math formulas provide an excellent baseline, you must also consider the "visual weight" of your lighting fixture. Visual weight refers to how heavy or light an object looks to the eye based on its design, materials, and density.
The physical size of a fixture can feel very different depending on its construction:
Delicate, Airy Fixtures
Fixtures made of clear glass, thin metal wires, or open geometric frames have a light visual weight. Because you can see right through them, they occupy less visual space. If you are choosing a minimalist fixture or one made of clear hand-blown glass drop elements, you can safely lean toward the larger end of your calculated size range.
Solid, Dense Fixtures
Fixtures with heavy metal bands, dark finishes, drum shades, or highly saturated colored glass have a heavy visual weight. They command immediate attention and block views across the room. If you choose a dense design, such as an oil-rubbed bronze piece or a chandelier with deep amber or dark glass components, lean toward the smaller end of your calculated scale so it does not overwhelm the space.
According to architectural design studies published by the National Institute of Building Sciences (NIBS), proper spatial scaling in interior environments directly impacts cognitive comfort and how spacious a room feels to its occupants.
Step-by-Step Chandelier Selection and Installation Workflow
To ensure your dining room chandelier installation is successful, follow this step-by-step design and preparation process:
1. Measure the room and dining table
Record your room's length, width, and ceiling height, along with the precise length and width of your dining table.
2. Calculate your target dimensions
Apply the Room Dimension and Table Proportion formulas to establish your ideal width, fixture height, and hanging height ranges.
3. Verify the junction box placement
Ensure your ceiling electrical junction box is centered directly over the dining table, which may not always align with the center of the room.
4. Confirm ceiling structural support
Check the weight of your chosen chandelier. Standard junction boxes only support fixtures up to 50 pounds. Heavier custom art glass chandeliers require a specialized, heavy-duty brace.
5. Hang and adjust the fixture height
Install the chandelier, measuring precisely from the tabletop to the bottom of the lowest glass element. Adjust the suspension cords or chain links to hit your target height.
Aesthetic Note: When hanging a multi-drop or cascading chandelier, ensure that the individual glass drops are staggered at different heights. This creates a natural, organic flow of light that mimics falling water, transforming your dining room light into a living piece of art.